

6 Easy ways to fix Grainy Photos in Photoshop
- Method 1: Fix grainy photos in Photoshop using filters
- Method 2: Utilize the Camera Raw Filter to fix grainy photos in Photoshop
- Method 3:Fix Grainy Photos in Photoshop with Smart Sharpen
- Method 4: Utilize Third-Party Noise Reduction Plugins for grainy images
- Method 5: Manual Noise Reduction Techniques
- Method 6: Shoot in RAW Format
In the age of digital photography, capturing moments has become easier than ever before; With the advancements in technology, we now have access to high-resolution cameras that can capture even the tiniest of details. However, even the best cameras can produce grainy photos. But fret not!
In this comprehensive guide, we walk you through the process of fixing grainy photos using the powerful tool known as Photoshop to fix grainy photos.
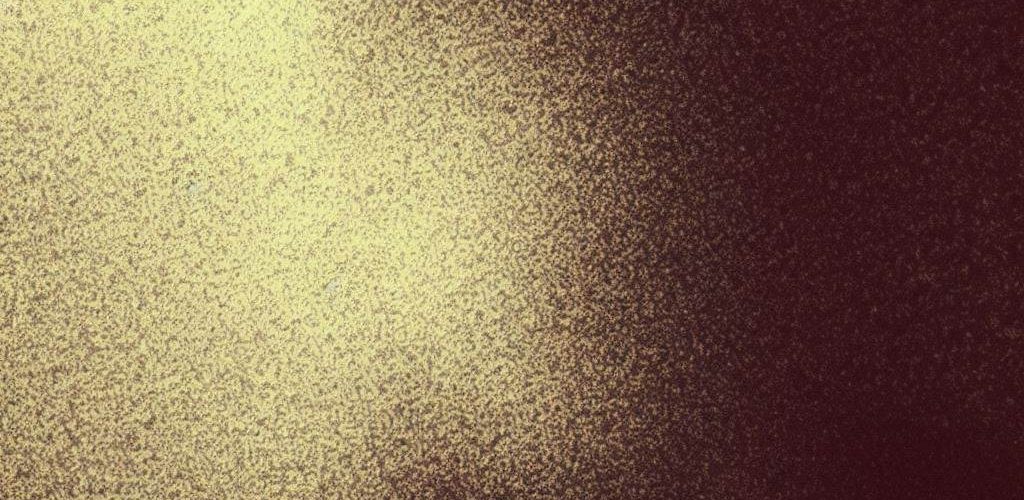
Understanding Grainy Photos
Before we dive into the methods of fixing grainy photos, it’s important to understand what causes them in the first place.
Graininess is often the result of high ISO settings, low light conditions, or improper camera settings. When the ISO is set too high, the camera becomes more sensitive to light, resulting in visible noise or grain in the image.
Additionally, low light conditions can force the camera to compensate by increasing the ISO, leading to grainy photos. Finally, using incorrect camera settings or shooting in JPEG format can also contribute to the appearance of grain.
6 Easy ways to fix Grainy Photos in Photoshop
- Method 1: Fix grainy photos in Photoshop using filters
- Method 2: Utilize the Camera Raw Filter to fix grainy photos in Photoshop
- Method 3:Fix Grainy Photos in Photoshop with Smart Sharpen
- Method 4: Utilize Third-Party Noise Reduction Plugins for grainy images
- Method 5: Manual Noise Reduction Techniques
- Method 6: Shoot in RAW Format
Method 1: Fix grainy photos in Photoshop using filters
Photoshop offers a range of powerful filters that can help reduce noise and improve the overall quality of your photos.
To begin, open the grainy photo in Photoshop and duplicate the layer by pressing Ctrl+J (or Command+J on a Mac). This will create a copy of the original image, allowing you to make adjustments without affecting the original.
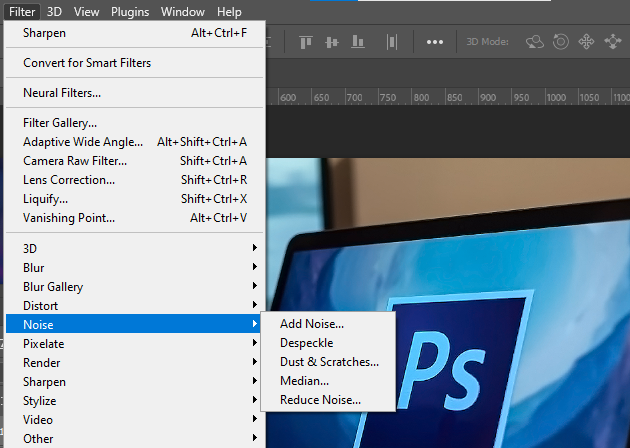
Next, go to the “Filter” menu and select “Noise.” Here, you’ll find various noise reduction options such as “Reduce Noise” and “Dust & Scratches.” Experiment with these filters to find the one that works best for your specific image. Adjust the settings until the noise is reduced, but be cautious not to overdo it as it may result in loss of detail.
Method 2: Utilize the Camera Raw Filter to fix grainy photos in Photoshop
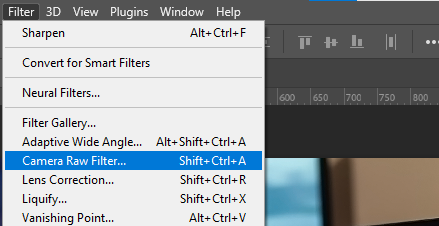
Another effective method for fixing grainy photos is to utilize the Camera Raw filter in Photoshop. This filter provides advanced control over the image’s noise reduction settings.
To access the Camera Raw filter, select the duplicated layer, go to the “Filter” menu, and choose “Camera Raw Filter.”
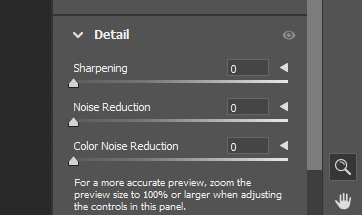
Once the Camera Raw interface opens, navigate to the “Detail” tab.
Here, you’ll find sliders for “Noise Reduction” and “Sharpening.” Adjust the sliders to reduce the noise while preserving the necessary details. It’s important to strike a balance between noise reduction and retaining the image’s sharpness.
Method 3: Fix Grainy Photos in Photoshop with Smart Sharpen
In some cases, sharpening the image can help reduce the appearance of grain. Photoshop’s Smart Sharpen filter is a powerful tool that allows you to selectively sharpen certain areas of the photo while minimizing noise.
To use this filter, select the duplicated layer and go to the “Filter” menu. Choose “Sharpen” and then “Smart Sharpen.”
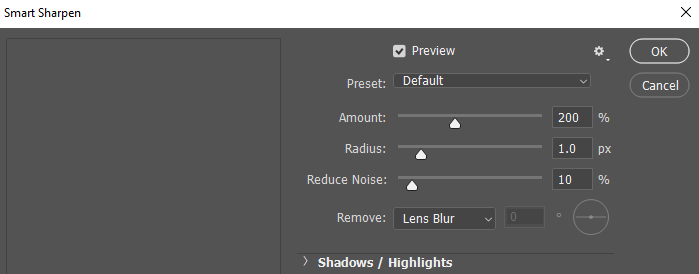
In the Smart Sharpen dialog box, you’ll find various settings such as “Amount,” “Radius,” and “Reduce Noise.” Adjust these settings until you achieve the desired level of sharpness while minimizing noise. Remember to apply the sharpening selectively, focusing on the areas that require additional clarity.
Method 4: Utilize Third-Party Noise Reduction Plugins for grainy images

If you’re looking for more advanced noise reduction capabilities, there are several third-party plugins available for Photoshop. These plugins offer enhanced algorithms and features that can further improve the quality of your photos. Some popular noise reduction plugins include Noise Ninja, Topaz DeNoise, and DxO PhotoLab.
To utilize these plugins,
- ensure that you have installed them correctly on your system.
- Once installed, open your grainy photo in Photoshop and select the duplicated layer.
- Then, navigate to the “Filter” menu and choose the appropriate noise reduction plugin from the list.
- Each plugin will have its own set of tools and options, so familiarize yourself with the interface and experiment with the settings to achieve optimal results.
Method 5: Manual Noise Reduction Techniques
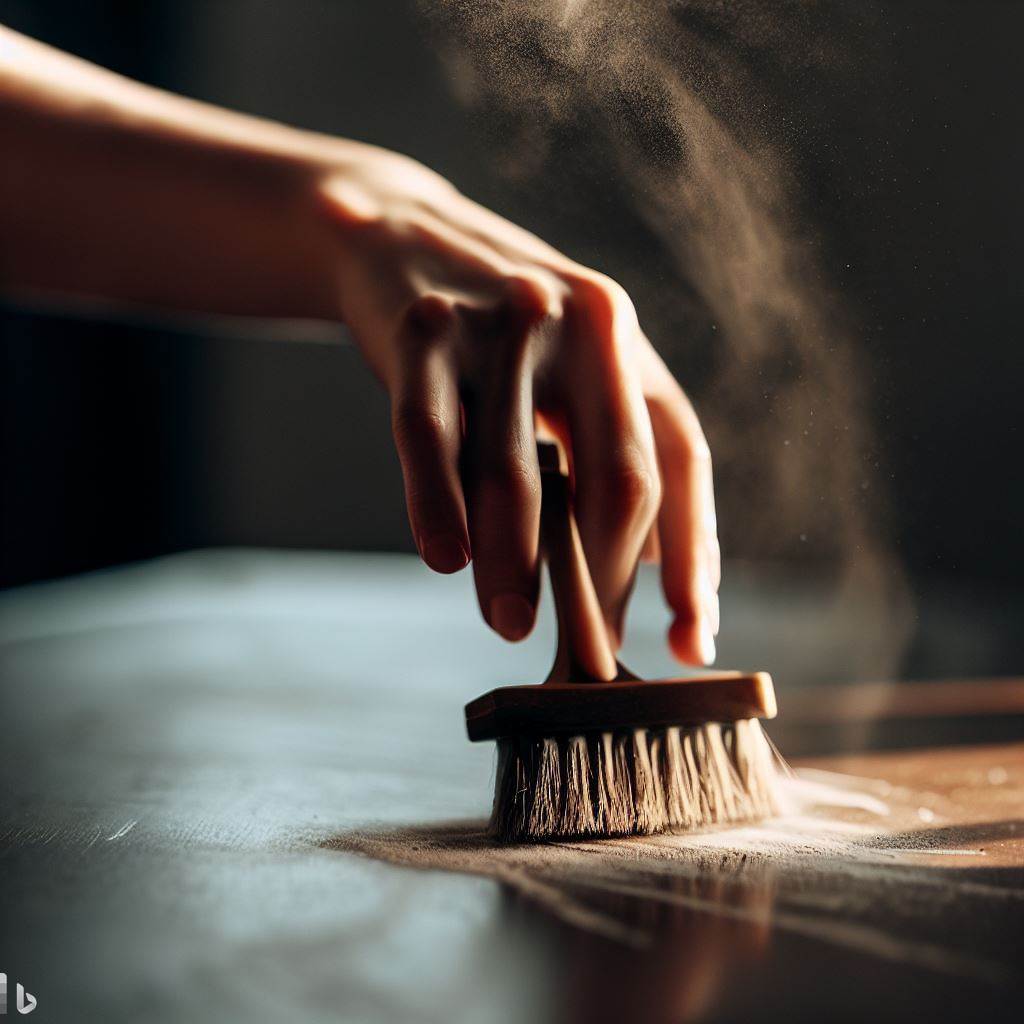
While software tools like Photoshop and plugins can significantly improve the quality of grainy photos, there are also manual techniques you can employ to tackle noise. These techniques require a more hands-on approach and may involve using tools such as the Clone Stamp, Healing Brush, or the Brush tool with the “Sample All Layers” option enabled.
By carefully sampling and blending pixels, you can selectively remove noise from specific areas of the image. This method requires patience and a keen eye for detail, as it involves working on a pixel level. It’s important to remember that manual noise reduction techniques can be time-consuming, but they offer precise control over the final result.
Method 6: Shoot in RAW Format
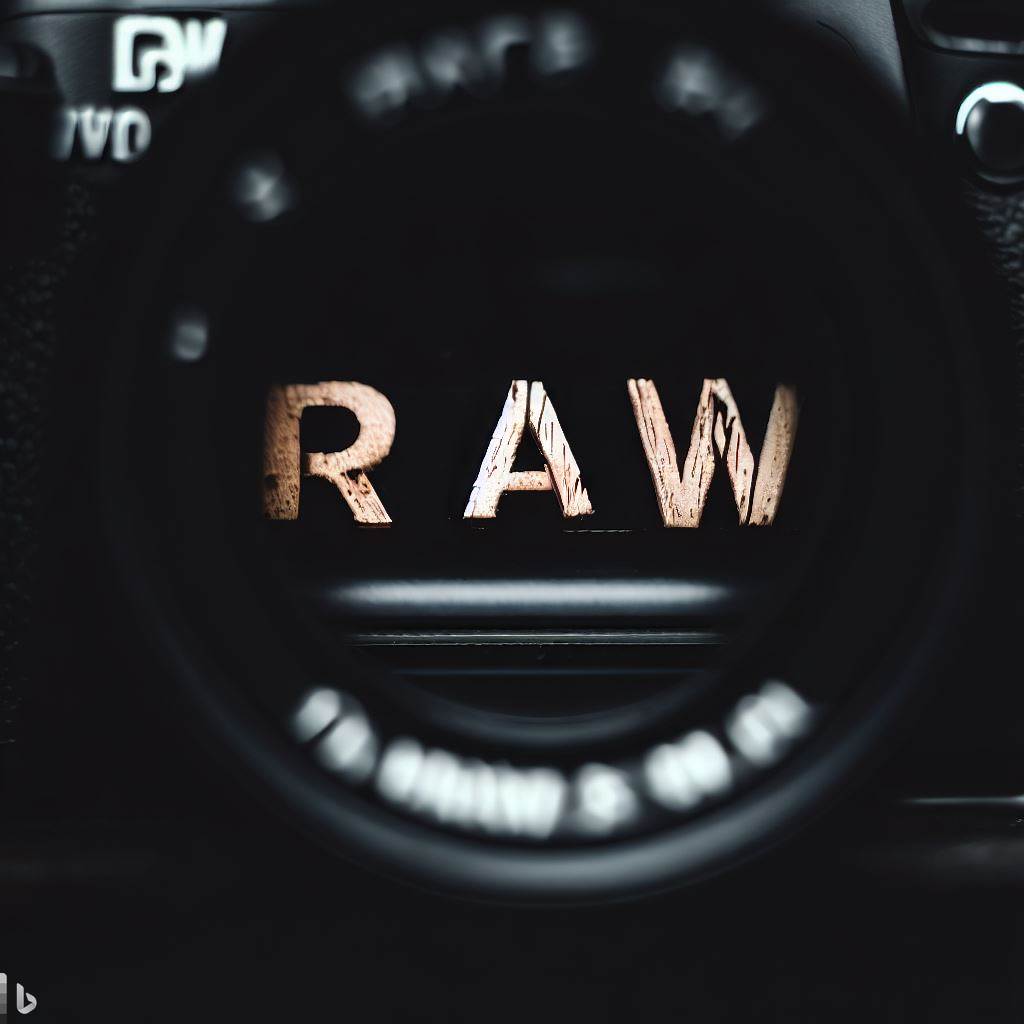
To prevent grainy photos altogether, consider shooting in RAW format instead of JPEG. RAW files contain unprocessed data captured by the camera’s sensor, providing greater flexibility and control during post-processing. When shooting in RAW, you can adjust various parameters such as exposure, white balance, and noise reduction without sacrificing image quality.
By shooting in RAW, you can effectively reduce noise in-camera by utilizing the camera’s built-in noise reduction settings. These settings can vary between camera models, so consult your camera’s manual for instructions on accessing and adjusting noise reduction options.
Final thoughts on how to Fix grainy photos in photoshop
Fixing grainy photos in Photoshop is a process that requires a combination of technical knowledge and artistic judgment.
By utilizing the methods discussed in this comprehensive guide, you can effectively reduce noise and enhance the overall quality of your photos. Remember to always work on a duplicated layer and experiment with different techniques to find the best approach for each specific image.
Photography is a continuous learning journey, and with practice and experience, you’ll become adept at identifying and resolving various image quality issues. So, don’t be discouraged if your first attempts don’t yield perfect results; Keep refining your skills and exploring new techniques, and soon you’ll be creating stunning, noise-free photos that leave a lasting impression on your audience.