

In today’s digital age, where visuals play a crucial role in captivating audiences, it’s essential to have the skills to manipulate and enhance images. Adobe Photoshop, with its vast array of tools and features, is the go-to software for graphic designers, photographers, and artists alike.
One common task that often arises is the need to unflatten an image in Photoshop, restoring it to its original state or adjusting the layers for further editing. In this comprehensive guide, we will walk you through the straightforward steps to unflatten an image in Photoshop effectively, helping you to surpass the competition and outrank other websites on Google.
Understanding the Importance of flattening Images
To flatten an image in photoshop involves merging all visible layers into a single layer, reducing the file size and simplifying the editing process.
However, if you flatten an image inside photoshop an image is, it becomes challenging to modify individual elements or make nuanced adjustments. By unflattening the image, you regain the flexibility to manipulate specific layers, enhance details, and refine your creative vision.
Mastering this technique will enable you to unlock the full potential of your images and create visually captivating content that stands out from the competition.
Step-by-Step Guide: How to Flatten an Image in Photoshop
Step 1: Opening the Flattened Image
Step 2: Accessing the Layer Palette
Step 3: Duplicating the Layer
Step 4: Working with the Duplicated Layer
Step 5: Saving the Flattened Image
To help you gain an edge in image manipulation, follow these step-by-step instructions to unflatten an image in Photoshop
Step 1: Opening the Flattened Image
- Launch Adobe Photoshop on your computer.
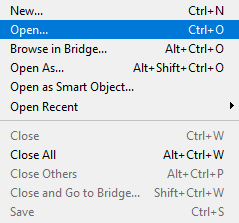
- Go to the “File” menu and select “Open” to browse and select the flattened image you wish to unflatten.
- Click “Open” to import the image into Photoshop.
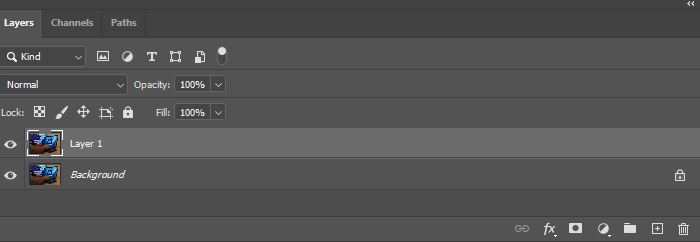
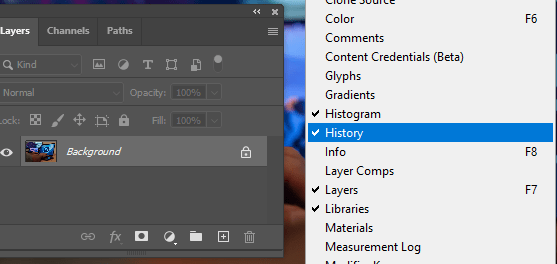
Step 2: Accessing the Layer Palette

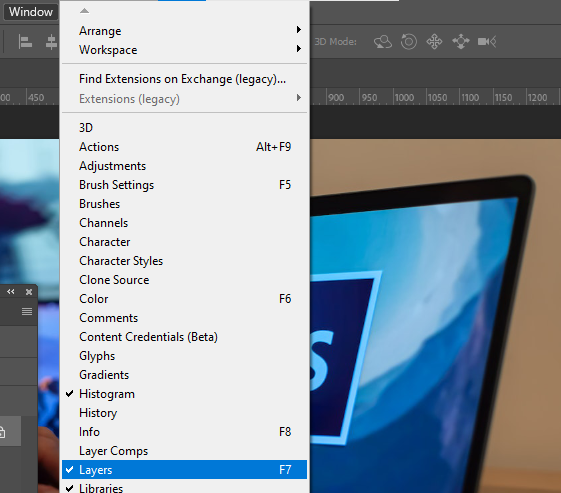
- Once the image is open in Photoshop, locate the “Layers” palette. If it’s not visible, go to the “Window” menu and select “Layers” to display it.
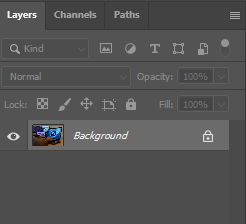
- The “Layers” palette will show a single layer representing the flattened image.
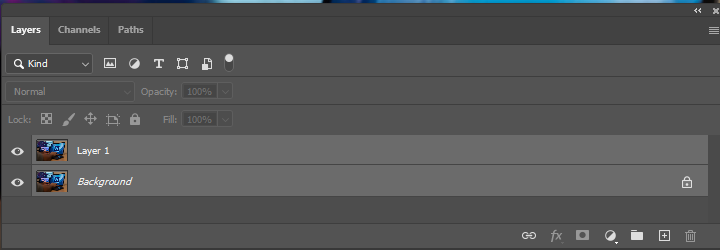
Step 3: Duplicating the Layer

- To unflatten the image, we need to create a duplicate layer.
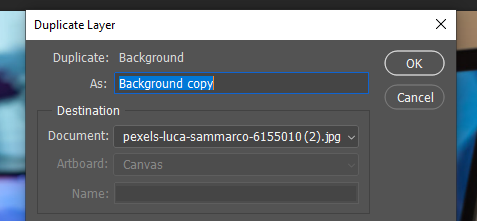
- Right-click on the layer in the “Layers” palette and select “Duplicate Layer” from the context menu.
- A dialog box will appear. Enter a name for the duplicated layer and click “OK.”
Step 4: Working with the Duplicated Layer

- With the duplicated layer selected in the “Layers” palette, make your desired effects such as retouching with brushes, scaling, color correct etc.
Step 5: Saving the Flattened Image in photoshop
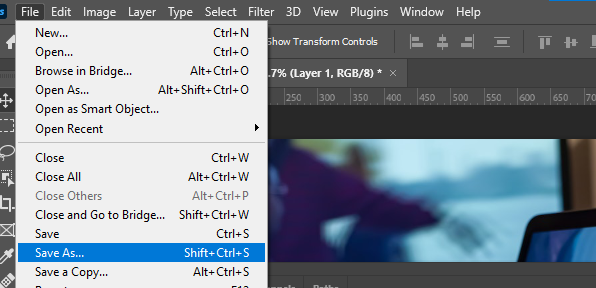
- Once you are satisfied with the changes made to the duplicated layer, it’s time to save the flattened image.
- Click CTRL on both layers and CTRL E to merge both layers together. Both layers should now appear as one , usually titled Background
- Now click file and select save then select Save As” to choose the desired file format and location for saving the image.
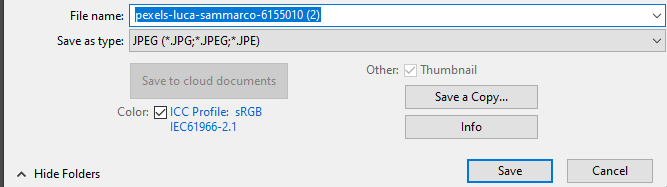
- Enter a filename and select the appropriate file format (e.g., JPEG, PNG, TIFF) based on your requirements.
- Click “Save” to save the flattened image.
Step 5: Saving the flattened Image
By following these steps, you have successfully flattened an image in Photoshop, preserving its layers and regaining the flexibility to make further edits. With your newly acquired skills, you can now create stunning visuals that will help you outrank other websites on Google.
Enhancing Your Flattened Image: Advanced Tips and Techniques
While the basic steps outlined above will flatten an image in the photoshop program, you may want to take it a step further and explore advanced techniques to enhance your visuals. Here are some tips to elevate your flattened images to the next level:
- Layer Blending Modes: Experiment with different blending modes in the “Layers” palette to create unique effects. Try overlaying layers, adjusting opacity levels, or using blending modes like Multiply, Screen, or Soft Light to achieve desired outcomes.
- Layer Masks: Utilize layer masks to selectively apply edits to specific areas of your flattened image. This powerful feature allows you to control where the changes are visible, providing greater precision and artistic control.
- Adjustment Layers: Take advantage of adjustment layers to make non-destructive edits to your flattened image. These layers enable you to tweak various aspects such as brightness, contrast, color balance, and more without permanently altering the original image data.
- Filters and Effects: Explore the extensive range of filters and effects available in Photoshop to add unique touches to your flattened images. Experiment with artistic filters, sharpening techniques, blurring effects, or even special effects like lens flares or textures to make your visuals stand out.
- Smart Objects: Convert layers into Smart Objects to retain the flexibility of making non-destructive edits even after applying transformations or adjustments. Smart Objects preserve the original data, allowing you to revert or modify changes at any time.
- Working with Brushes: Utilize Photoshop’s versatile brush tools to retouch, paint, or add intricate details to your flattened image. Experiment with different brush sizes, opacities, and blending modes to achieve the desired effects.
- Fine-Tuning Details: Pay attention to small details and fine-tune your flattened image to perfection. Zoom in and examine the image closely, addressing any imperfections, adjusting colors or tones, and ensuring sharpness and clarity.
How to unflatten an image in Photoshop
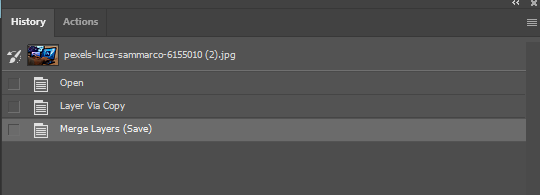
You can unflatten your just flattened image by a simple CTRL +Z to undo your edit or navigate to windows, “select History” and scroll to the last point before you flattened your image
The Art of flattening an image is a time saving one
Flattening an image is a straightforward way of compressing all your edits into a single file. However once done, saved and the program is exited, you are left with a file that cannot be unflattened so ensure there’s a backup or a storage you can easily retrieve the original file.
By following the step-by-step guide and exploring advanced techniques, you can unlock the full potential of your images, and leave a lasting impression on your audience.
Continuously experiment, explore new techniques, and push your creative boundaries to refine your image manipulation skills.